sugar cookies - xmas edition

so we all know sugar cookies are delicious, and maybe we even have the bodies to prove it - so given that xmas time is a free pass to eat whatever you want time to indulge, why not bake up a batch of happiness. i truly believe that sugar cookies are one of life's simple pleasures, they aren't anything fancy, and they don't pretend to be either - they're honest... as in honestly delicious.

sugar cookies are super fun to decorate and they look super impressive as a gift too - this is the perfect time for the kids to earn their keep have fun on their school holidays ;) but seriously kids love decorating cookies, just be aware that a few will go missing, oh and they kids will probably sneak a couple too haha!

xmas sugar cookies | mrtimothyjames | one
xmas sugar cookies | mrtimothyjames | two
xmas sugar cookies | mrtimothyjames | three
xmas sugar cookies | mrtimothyjames | four
xmas sugar cookies | mrtimothyjames | five
xmas sugar cookies | mrtimothyjames | six

the recipe

makes roughly two trays of cookies (varies based on cookie size)

cookie ingredients
decoration ingredients

cookies

in the bowl of an electric mixer, with a paddle attachment, beat the butter on high speed until pale and fluffy. add in the icing sugar and mix on a medium speed until combined, turn the mixer down to low and add the egg beating until combined. then beat in the extracts. with the mixer on the lowest speed, add the flour gradually until the mixture forms a dough. add the salt and continue to mix on low until the dough forms a ball. divide the dough into 2 equal portions and wrap each in cling wrap, refrigerate for 1 hour. roll out the dough between 2 sheets of baking paper until it reaches a thickness of ½cm or the desired thickness. place the sheet of dough onto a baking tray and refrigerate for a further 30minutes. once chilled, remove the top sheet of baking paper and use it to line the baking tray, cut out the desired shapes from the sheet of dough and place them onto the baking paper lined tray. chill the cookies (tray and all) in the freezer for 15minutes. at this stage preheat the oven to 160oC / 140oC fan-forced. once the cookie cut-outs are semi-frozen, place the baking tray (straight from the freezer) directly into the oven and bake until lightly golden brown around the edges. (baking time will vary based on the size and shape of the cookies, time will vary anywhere from 10-35minutes) 

decoration

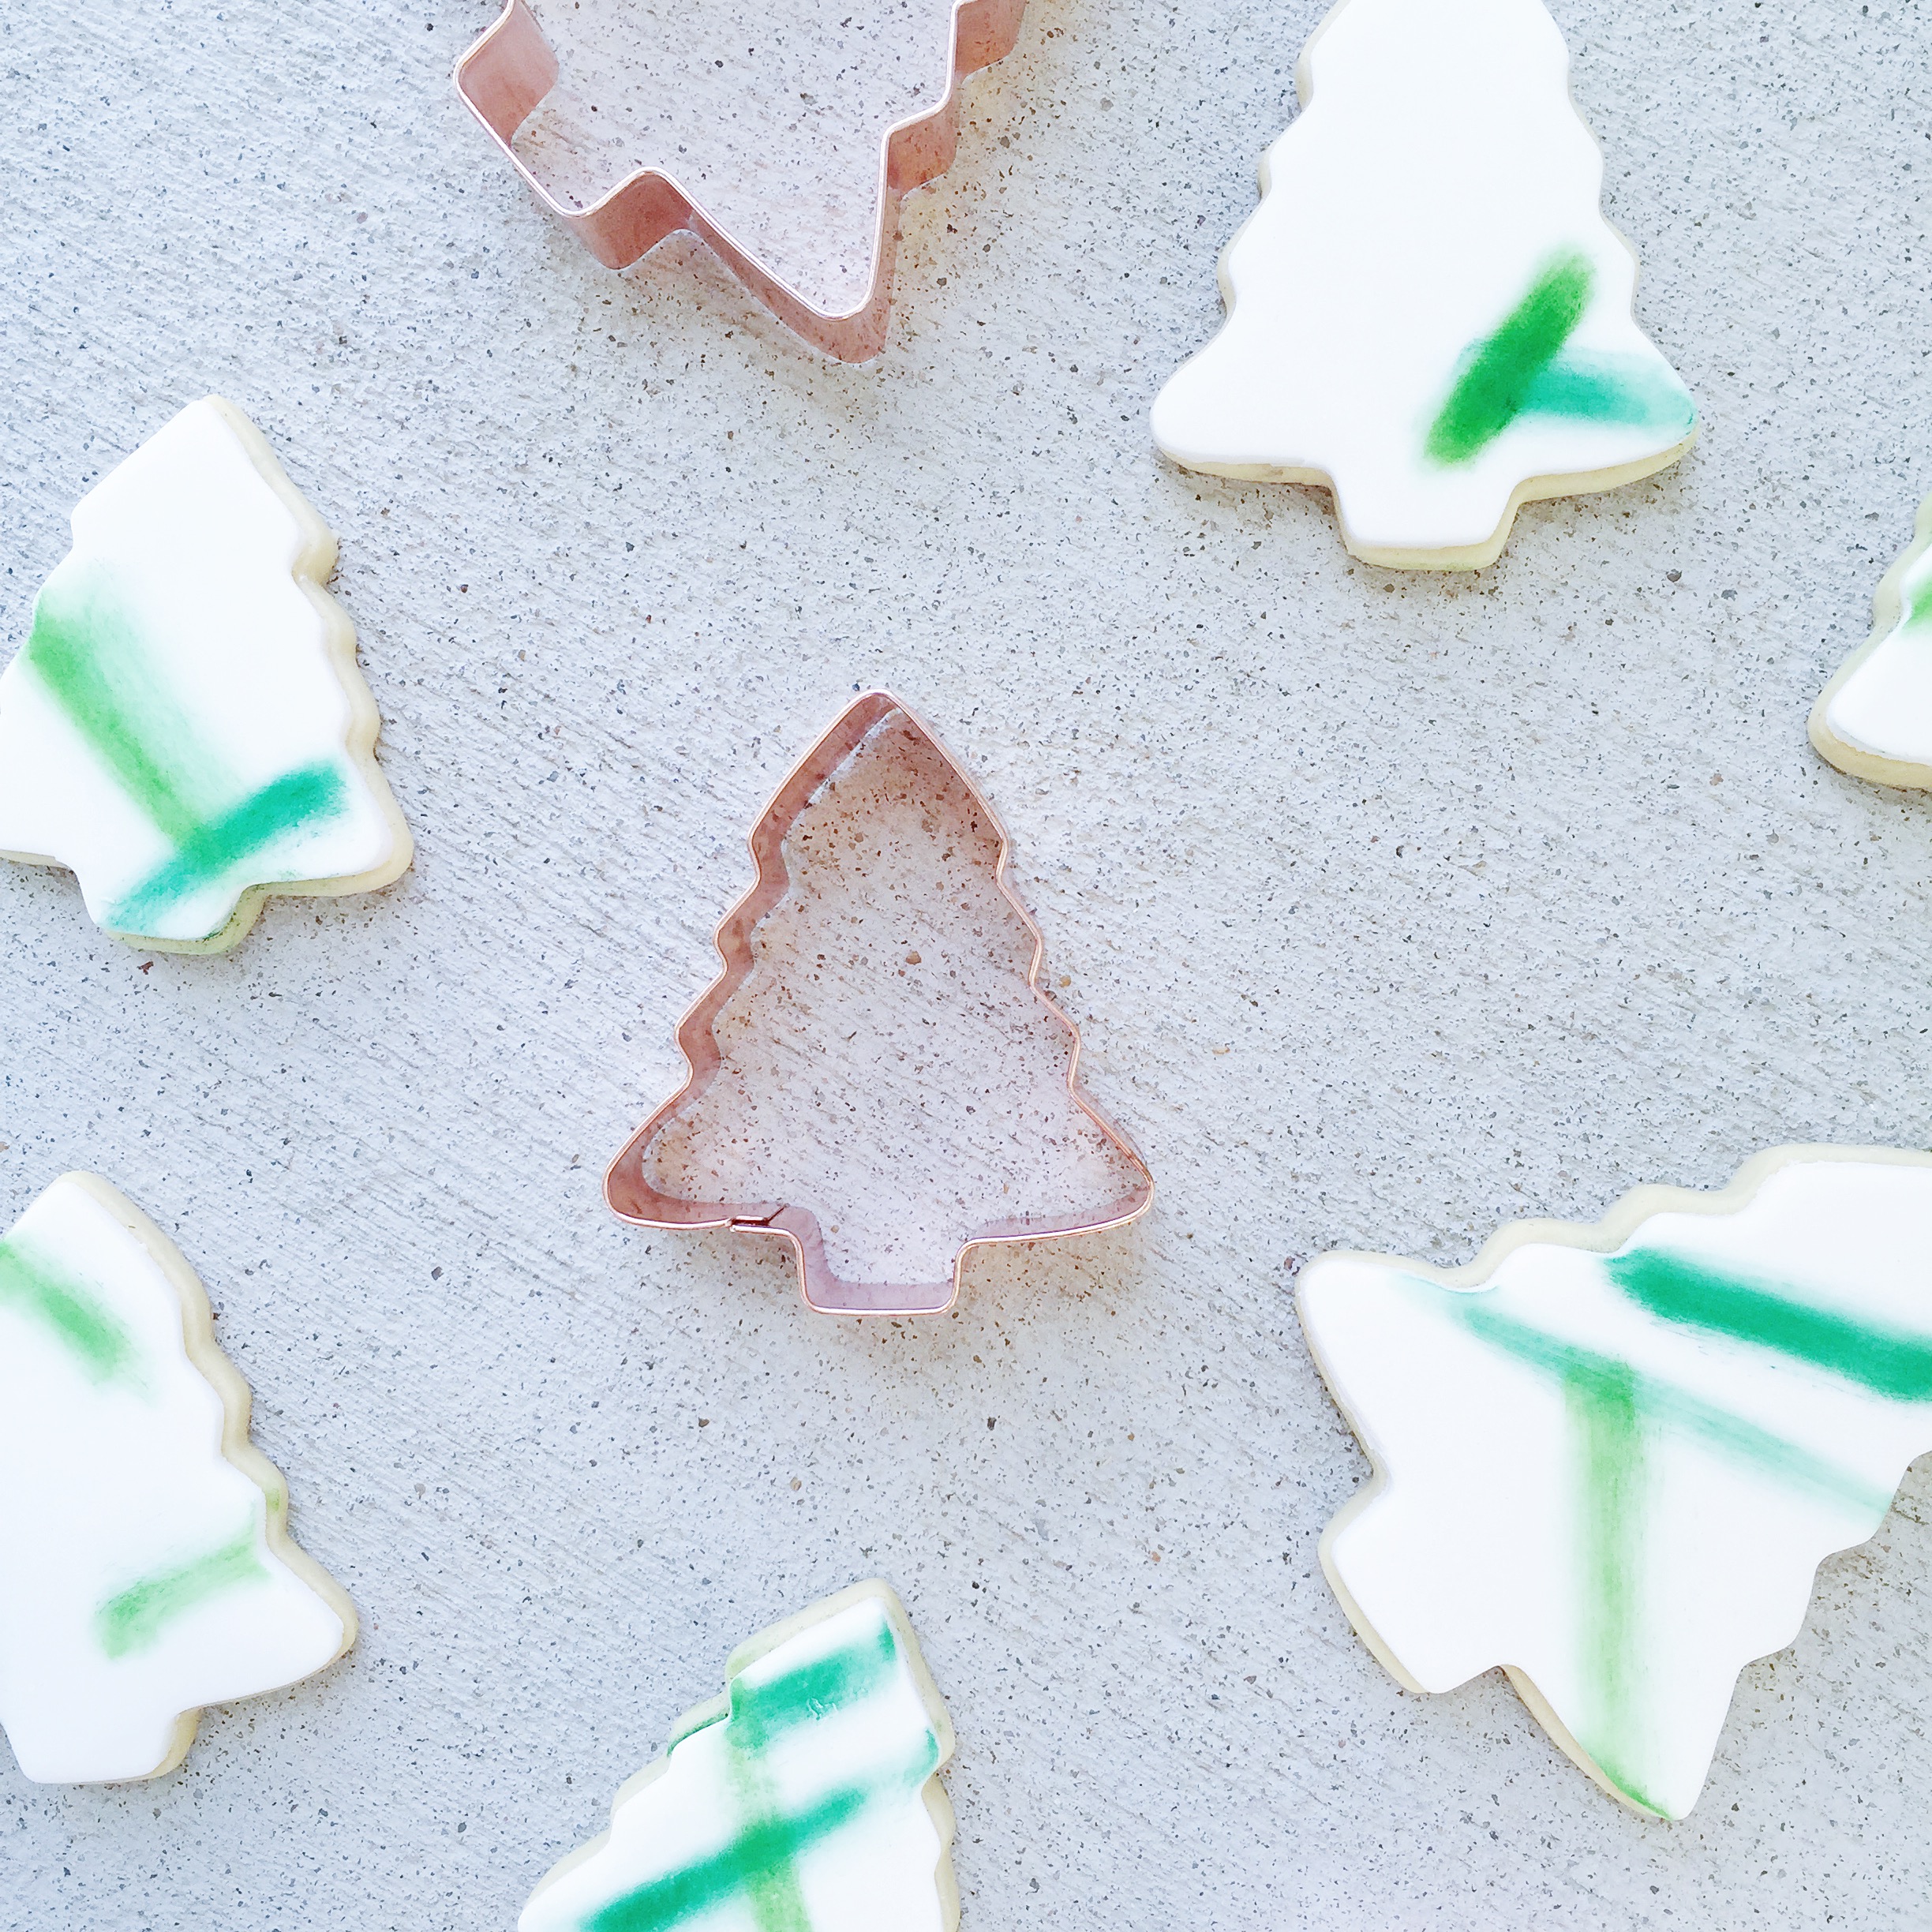
on a clean bench top or kitchen surface, sprinkle some cornflour to stop the fondant from sticking. knead the fondant for a minute or so to ensure it will roll out smooth. once kneaded, shape the fondant into a disc, sprinkle with some more cornflour and roll out the fondant to be half the thickness of the cookie or less. cut out the same shapes from the fondant sheet as with the cookies. using a clean dry paintbrush, remove any excess cornflour off the fondant cut-out and use a little water on the backside to adhere it to the cookie. using another clean dry paintbrush, brush on the powdered food colouring to achieve the desired look.

remember less really is more when it comes to decoration - enjoy.

grab the printable recipe for all the inside tips and tricks on how to make these sugar cookies like a pro!

mrtimothyjames loves these copper cookie cutters from peter's of kensington - shop the trees here & the stars here.

i'd love to see your creations, if you make these delicious sugar cookies share them with me by using  the hashtag #mrtimothyjames on social media.

on a scale of meh - super keen, how excited are you for christmas? do you wear a couple sugar cookies on your body now too, or am i alone? tell me all of the things in the comments below!

happy baking love timothy xx

free printable: xmas crackers

oh em gee - you guys, it's almost xmas! the countdown is on, and time is running out! it's time to get those chrissy gifts sorted - stat! anyone who know's me, know's that i'm an absolute sucker for cute packaging. and while we all know that it's what's on the inside that counts, i think we'd all be lying if we didn't admit that just sometimes, we judge things by their appearance. so if you're looking for the perfect xmas packaging for your little gifts and treats - look no futher... i got you guys!

xmas crackers | mrtimothyjames

now while these crackers do require a little assembly, i swear that they are also the easiest thing in the world to put together - heck if you've got kids, put them to work for you and go put your feet up! (okay, so that's not exactly the best idea because there's a fair bit of handling scissors and craft knives - but hey, if it's a risk you're willing to take...) i love these crackers for packaging gifts, but you could absolutely use them on your christmas table too - just add some of those fancy cracker things that 'crack' when you crack the cracker and you're cracking! (yep, that just happened)

xmas crackers | mrtimothyjames | one
xmas crackers | mrtimothyjames | two
xmas crackers | mrtimothyjames | three
xmas crackers | mrtimothyjames | four
xmas crackers | mrtimothyjames | five
xmas crackers | mrtimothyjames | six
 

these crackers were designed to hold small gifts and sweet treats - but can be used in so many ways. for a gorgeous and simple gift idea include the recipients fave lollies or some mini cookies, then add a handwritten love note and loads of confetti! for the perfect sized confectionery gift to include in your crackers, mrtimothyjames loves happy lab's - happy beans test tubes (also available at target australia).

if you feel like sharing what you pop inside these crackers how you style them, share them with me on social media use the hashtag #mrtimothyjames

are you a traditional or modern style lover? are you into diy's or do you have better things to do? ;) tell me all of the things in the comments below.

happy gifting love timothy xx

twinkle light gift wrap

so i've been toying with the idea of adding battery operated lights to gifts as part of the wrapping for a hot minute, and i wasn't 100% sure that it would actually look good. so when i came across these gorgeous copper wire lights at kmart the other day for just 5 bucks, i knew that i had to at least give it a go - and i think it turned out fab! it's such a basic and simple idea, but it really takes your festive gift wrap to the next level - and as a lover of minimalism i feel this aesthetic is so on point.

twinklewrap1
twinklewrap2
twinklewrap3
twinklewrap4
twinklewrap5

step one. wrap gift/s in black or dark gift wrap.

step two. unwind string lights and add batteries to the battery pack.

step three. secure the start of the string to the back of the gift, and wrap the lights around the gift until the full string is used.

step four. secure the end of the string to the back of the gift and also secure the battery pack. this can be done with tape, or for a more secure option - use hot glue. (this can be easily removed from the paper gift wrap and then peeled off the plastic battery pack - it won't damage the lights)

step five. turn on the lights before you give the gift to your loved one and watch the twinkle in their eye.

because these string lights are copper, whether they're on or off  they make your gift look fab! not only are these twinkle lights the perfect addition to giftwrap, they're basically another gift in themselves - so it's two for one! 

if you're looking for these gorgeous copper wire lights, they aren't sold on the kmart website unfortunately so check with your local kmart and quote this keycode (42258 964). 

there are several places that also stock versions of these gorgeous lights - so if you can't find them at kmart try - targettypo | kikki.k | or ebay.

if you add copper wire lights to your gift wrap this festive season, i'd love to see how you style them - tag #mrtimothyjames on social media so i can join in on all the fun.

do you think that giftwrap makes gifting more fun? or are you more of a practical gift bag sort of human? tell me all of the things in the comments below.

twinkle twinkle love timothy xx