free printable: xmas cards

i am such a huge fan of simple yet beautiful graphic design, so every year when silly season sneaks up on me comes around, i will literally spend weeks shopping around for cards with the perfect design. i've always considered making my own cards, but given the fact that i'm a huge procrastinator i'm super busy with study and work, i never seem to find the time. so i finally pulled myself together and designed my take on simple and beautiful xmas cards. so to celebrate i've created a little download link for you all to share these cuties with me this xmas. and to make things even cuter and way more festive, i've also created matching envelope liners - because we all know xmas is the time for everything in excess and also they're just adorable.

xmas cards | mrtimothyjames | one
xmas cards | mrtimothyjames | two
xmas cards | mrtimothyjames | three
xmas cards | mrtimothyjames | four
xmas cards | mrtimothyjames | five

for the best printing results, set the images to fill the entire page, adjust the print quality to high and print the cards on the thickest gsm cardstock your printer will take (envelope liners can be printed on regular paper).

to create the cards

use a ruler to connect the cut marks on the corners of the cards and use an xacto knife to cut out the card -  alternatively you can draw a pencil line between the cut marks and cut out the cards with scissors.

fold the cards using the dotted line as a guide, and score the spine of the card.

to create the envelopes

cut out the patterned liner using scissors, trim away the black edge for a cleaner look.

secure to the inside of a 5" x 7" envelope using double sided tape or glue, close the envelope and pinch along the top edge to score the liner inside.

these envelope liners were designed to fit these kmart envelopes.


add a festive message inside the card and slip it inside an envelope or simply attach it to a gift to add a special little touch. if you use these xmas cards this silly season i'd love to see how you style them, share them with me on social media by using the #mrtimothyjames

happy card giving love timothy xx

white christmas trees

there's not a lot to say about this recipe really, it's probably the most simple thing you could ever throw together and yet it tastes fantastic and with this clever little idea of turning it into a tree it looks even better. i'm a big fan of white christmas, i like to think of it as an adult version of chocolate crackles (not that chocolate crackles can't be enjoyed by adults, but you get me... they're a bit daggy) with this flavour combo of turkish delight, pistachios and craisins - it couldn't be more festive.

this recipe is perfect for christmas gifting, you can whip up a mix or two in no time at all and the cute cone trees make a delicious little gift perfect for a friend or colleague. picture them wrapped up in cellophane or displayed on a dessert table or even down the centre of the christmas table as an after dinner treat.

the recipe

recipe makes 5 trees

white christmas

in a large bowl, combine the dry ‘mix’ ingredients and stir to evenly distribute.

in a microwave safe jug, melt the copha and white chocolate in 30 second bursts, stirring thoroughly after each burst until fully melted. allow to cool.

create a well in the middle of the dry ingredients and pour in the melted chocolate mix, stir to combine.

pack the mixture into the ‘tree’ cones, tapping the sides of the cone gently to ensure the mixture reaches the tip. place the cones tip down into drinking glasses and refrigerate overnight.

alternatively you can spoon the mixture into cupcake papers to create individual serving portions.


i hope these visuals help you when you're making these cute little trees, i promise you it's not difficult and the result is totally worth it. grab the recipe card and template below and give it a go yourself!

ever made white christmas? what's your go-to christmas treat you like to bake? tell me all the things in the comments below!

with love, timothy x

on the table - festive brass

I've always loved a good table setting almost as much as i love a good dinner spread - so i've decided to share with you my inspirations in a new little segment which i hope will become a regular feature i call 'on the table'. i've titled this edition festive brass as i feel it sums up the vibe of the table, it's simple and relaxed and gives a nod to the holiday season with it's slight touch of glam. think warm day, cold drinks, alfresco dining, and a lunch that lasts til everyone is full of food and laughs.

this table is super easy to throw together and yet it looks purposeful and thought out, best of all the servingware, tableware and decor are all from kmart! don't worry i didn't raid the party section, and i'm not about to suggest you use plastic plates and disposable cups, but i wanted to keep this setting simple and achievable. so stress less this year and take a little inspo for your holiday table from this festive table setting.

onthetable - festive brass | mrtimothyjames
feature pic.png

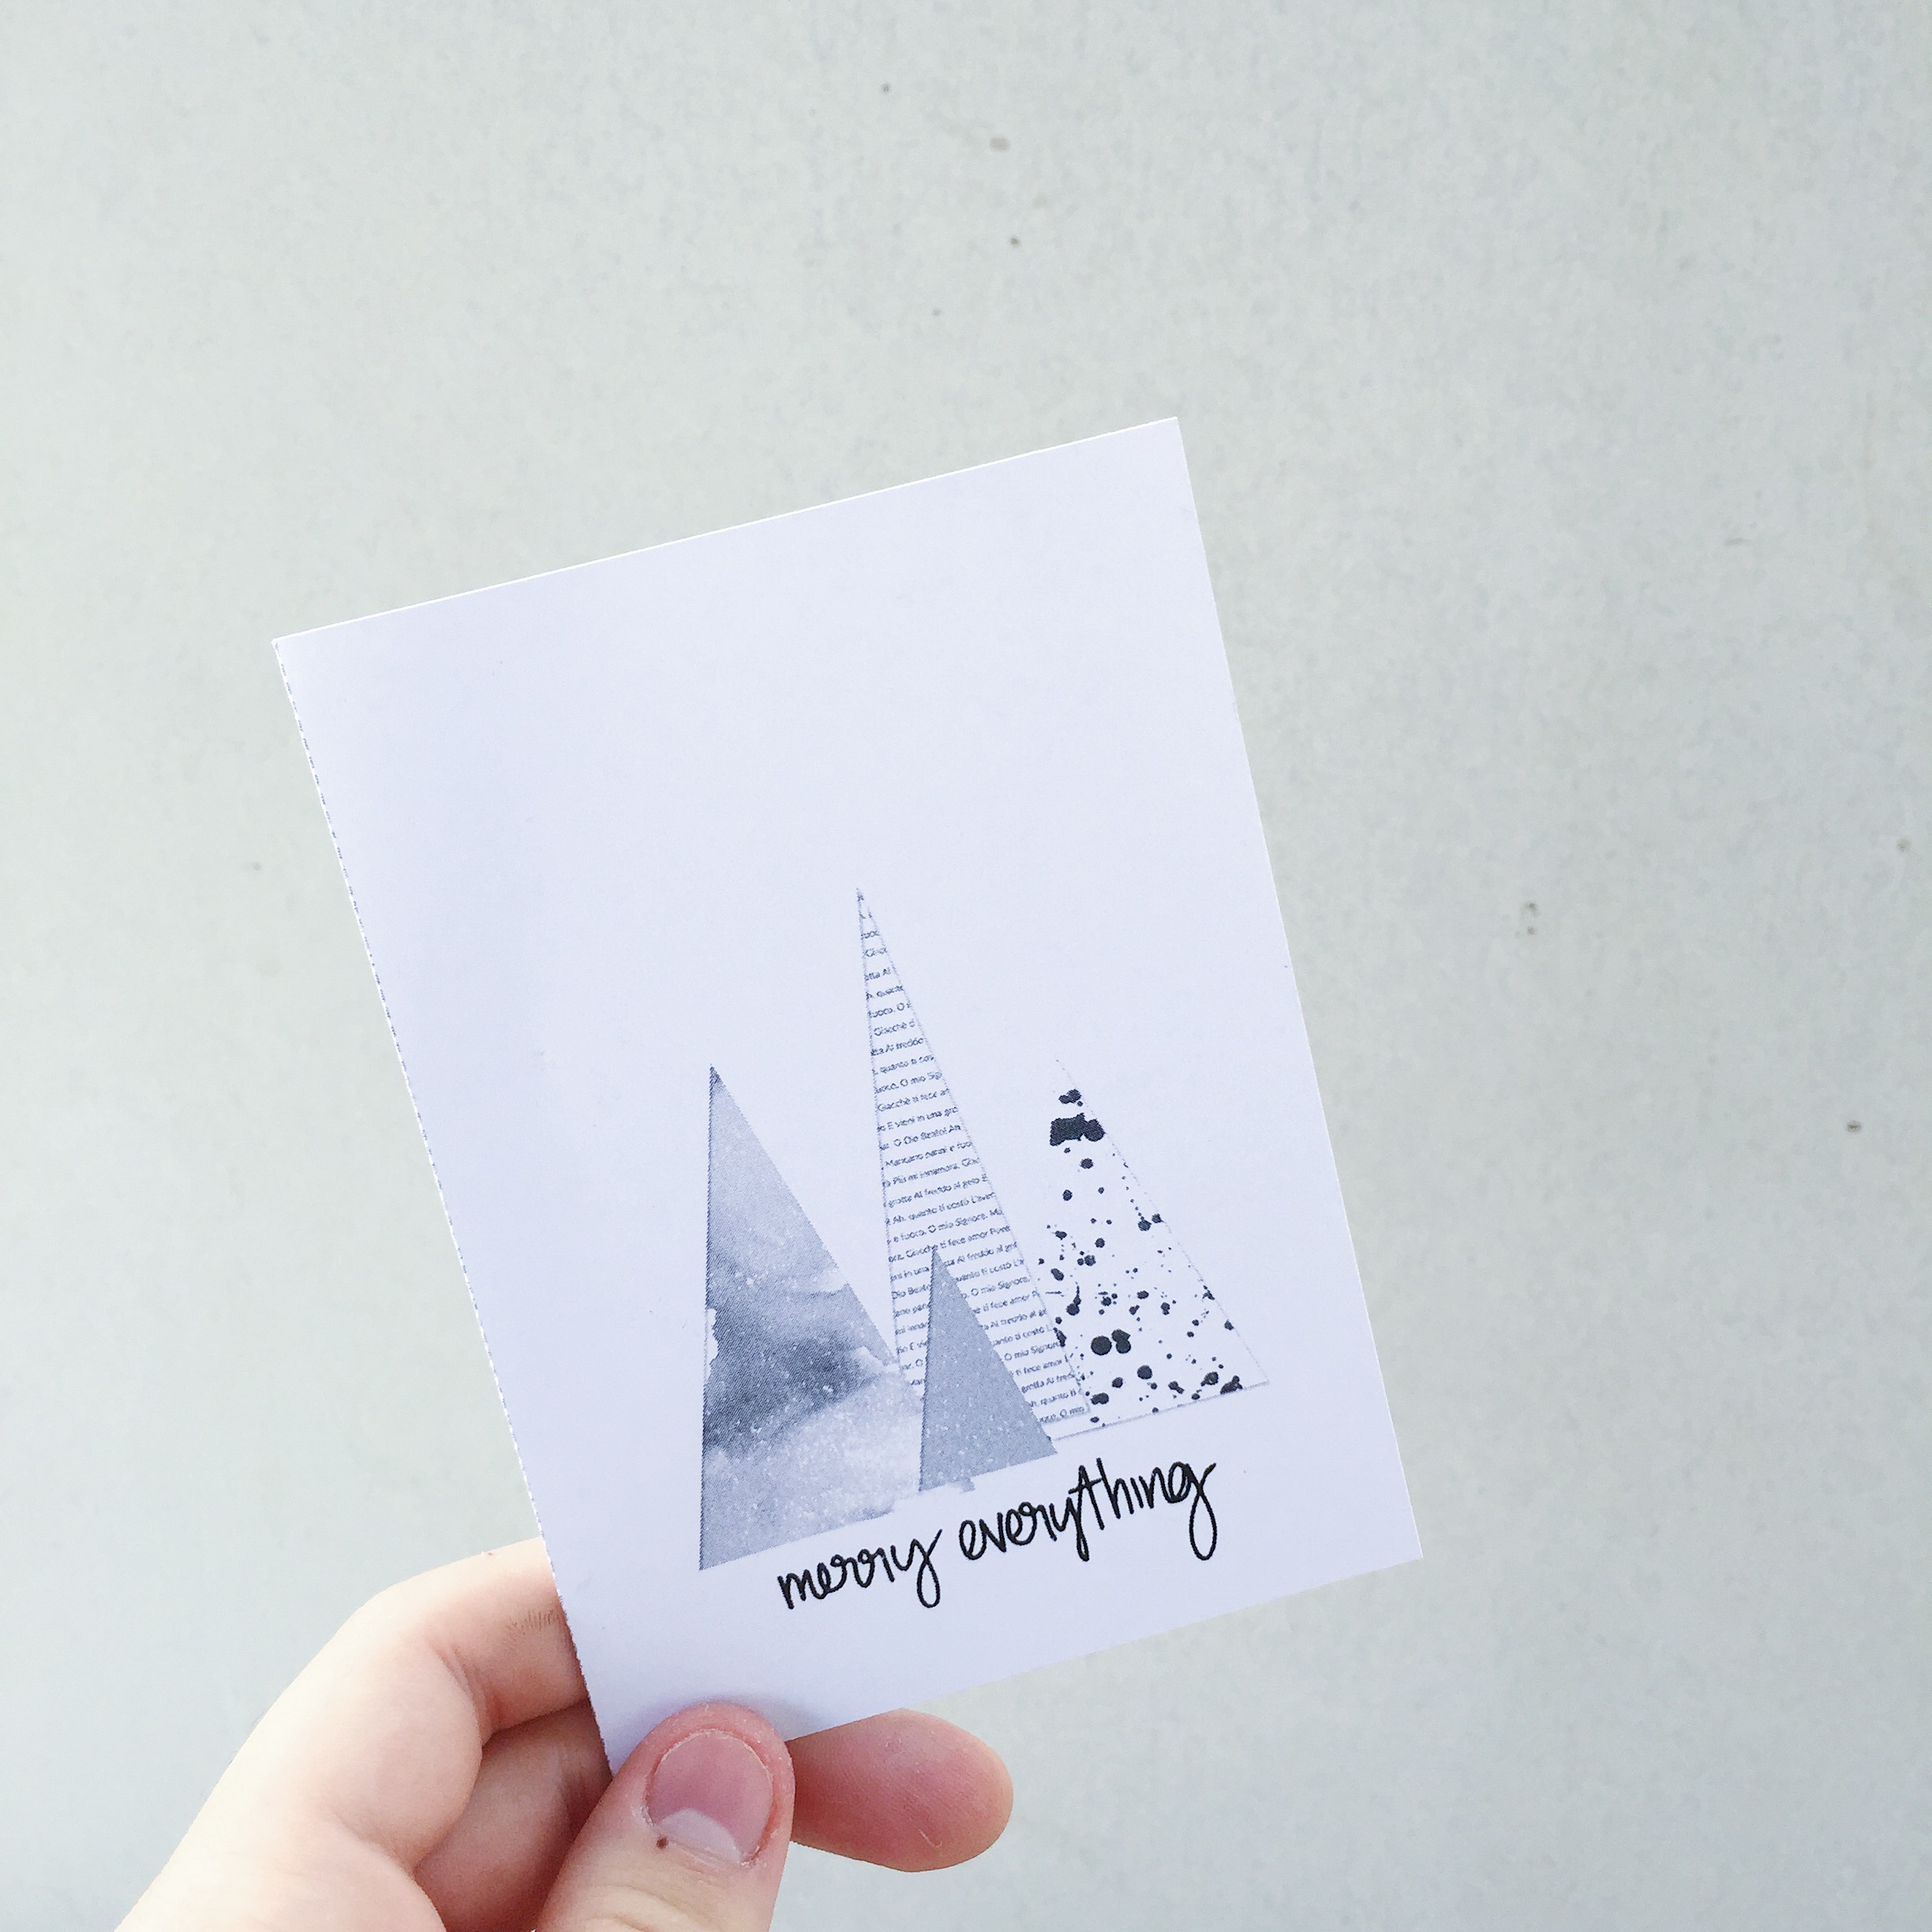
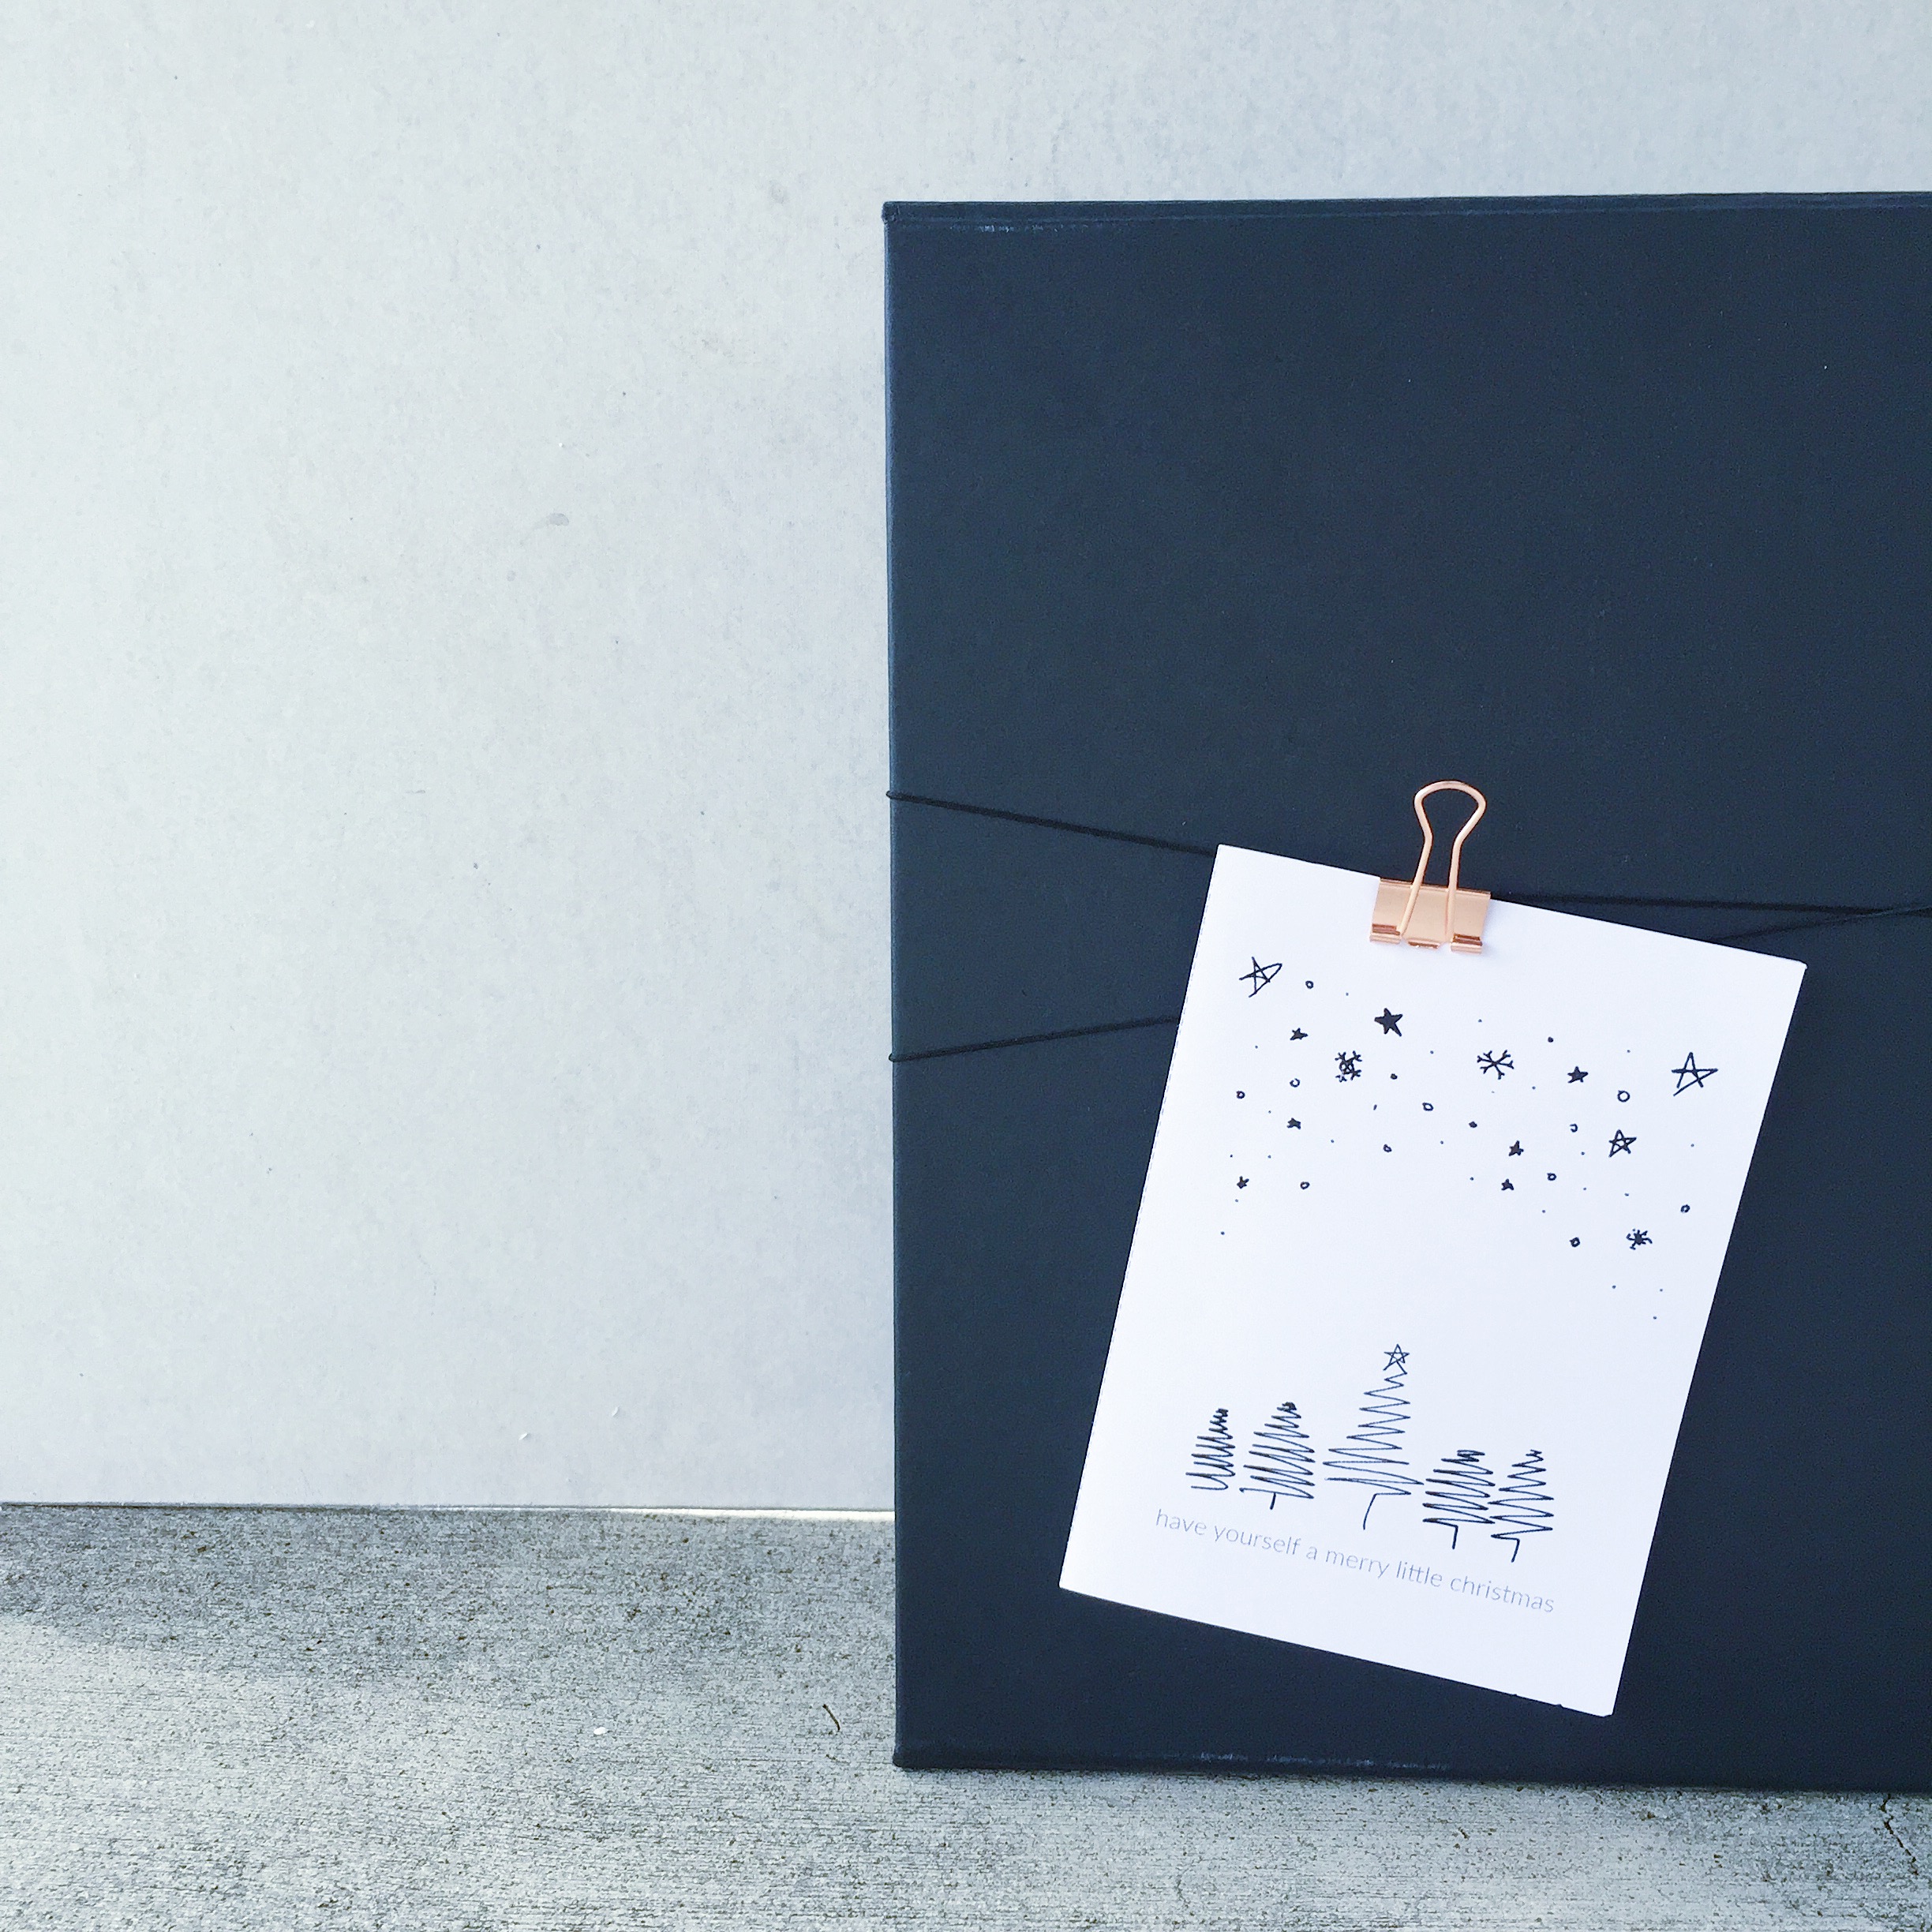
this look is very much about simplicity, when it comes to hosting the last thing you want to do is be stressed about how long it's going to take you to set the table. so with a few simple tips and tricks i'll show you just how easy it can be to set a simple table that will still wow your guests.

step one - create a base

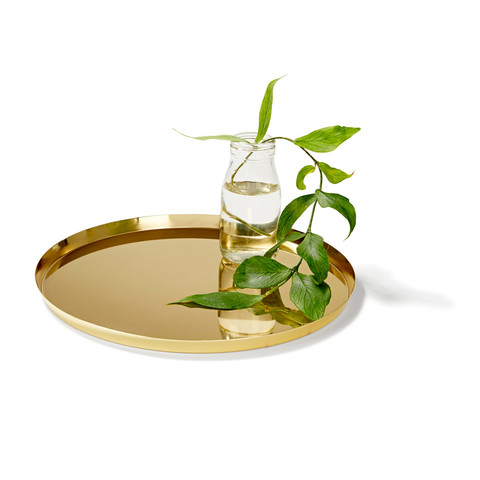
this is where you start and your choice of table covering will set the tone and mood of your setting. consider neutral colours that won't distract from your tableware and decor. think about how much time you have before and after your event, a table cloth is great but needs to be ironed before and washed after. while disposable table cloths are convenient they can also look tacky, consider a roll of plain gift wrap which will span the width of your table and eliminate the need for washing a table cloth. also consider a table runner or garland, this is your chance to start introducing your theme or colour scheme to the table whether it's with textiles or foliage. 

step two - set the table

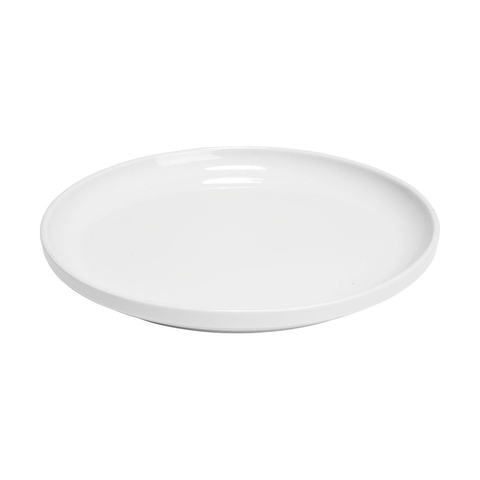
now is the time to get your tableware onto the table because apart from being necessary to eat with, this will then dictate how much space you have for decor and serving ware. consider layers, textures and height when setting your tableware as these are all subtle ways to add interest to your overall look. Start with a placemat, charger plate or simply your dinner plate - this is your first opportunity to start layering so consider materials such as metals vs porcelain/china and finishes such as gloss vs matte. 

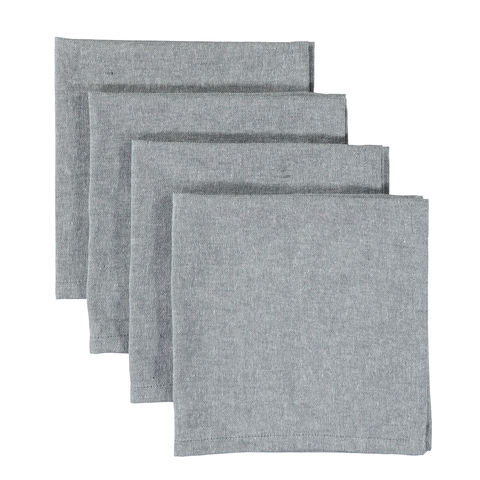
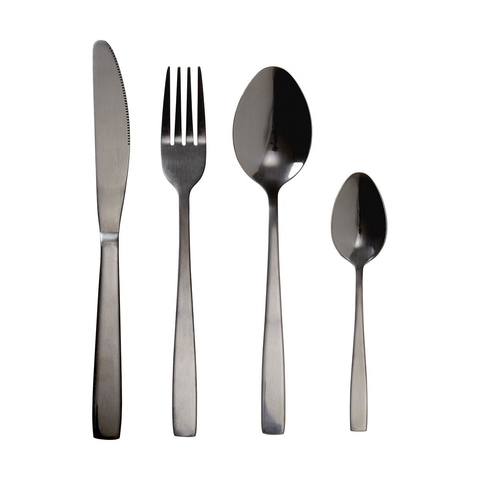
consider cutlery placement as this can help dictate the tone of your event - formal vs informal. consider the beverages you will be serving as this will allow you to select the necessary glassware and it's placement. don't forget napkins, think about the type - fabric vs paper, the colour - dark vs light and the way you display them - do you need napkin rings or will you fold them.

step three - style it up

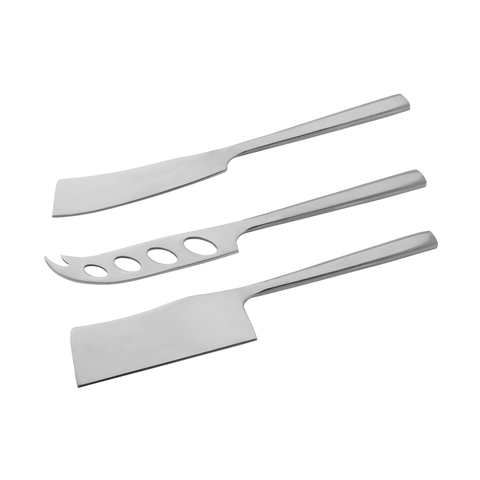
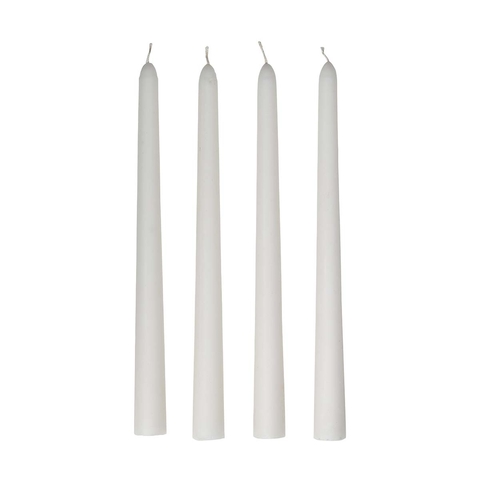
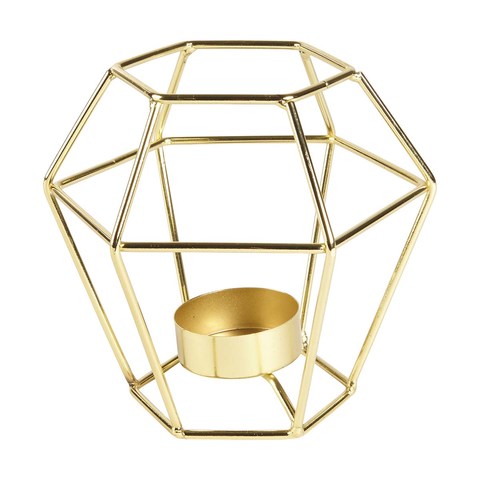
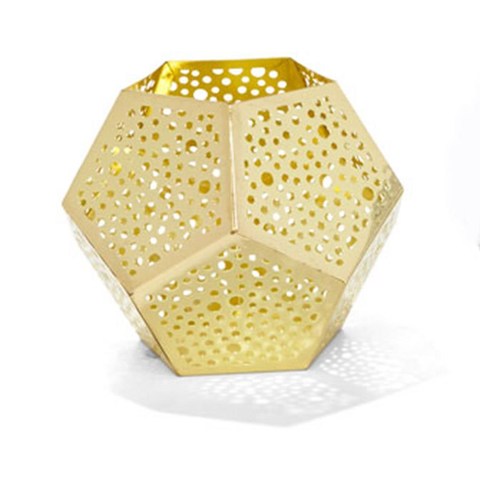
all the practical stuff is out of the way now, so consider how you will complete your look. think about lighting and ambience, consider fresh florals/foliage, add decor pieces of different heights to help break things up. try to stick to one idea/theme with your styling and keep it running throughout the table - you don't want to get too carried away, it is a dining table after all not a living room credenza. again consider textures, scents and visuals you want to keep your guests interested in the effort you've put in by connecting them to your styling through their senses. 

I hope these visuals and tips help you to get some inspiration for your holiday dining table, and i look forward to sharing more from 'on my table' in future posts.

do you have any table setting steps or tips you use? what other style of setting would you like to see in the series? tell me all the things in the comments below!

with love, timothy x